 L’Imp’Rock Scénette (by @_daffyduke_)
Logiciel libre, rock’n roll et biochimie ...
L’Imp’Rock Scénette (by @_daffyduke_)
Logiciel libre, rock’n roll et biochimie ...
How To Install VirtualBox 4.0 Beta In Ubuntu
, popularité : 2%
VirtualBox 4.0 beta was released today with some major changes. The biggest change is that some functionality has moved into a separate package (such as the USB 2.0 support, RDP server and more).
But that’s not all : VirtualBox 4.0 beta also comes with a redesigned user interface, settings/disk file layout for VM portability, support for more than 1.5/2 GB guest RAM on 32-bit hosts, support for the Intel ICH9 chipset, support for limiting a VM’s CPU time and IO bandwidth, asynchronous I/O for iSCSI, VMDK, VHD and Parallels images, support for resizing VDI and VHD images and more. For a complete list of new features, see the release announcement.
News via h-online.
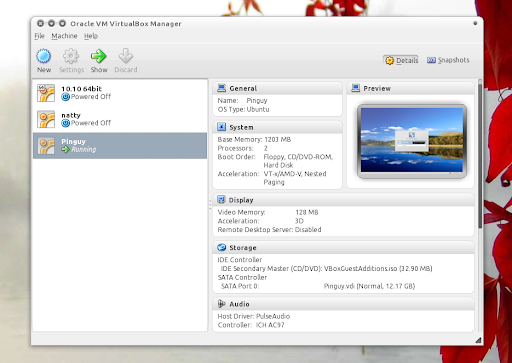
Install VirtualBox 4.0 beta in Ubuntu
Before installing VirtualBox 4.0, please remember it’s still in beta so expect to find bugs (so use it at your own risk) !
1. To install VirtualBox 4.0 beta, remove any older VirtualBox version you may have installed on your system :
sudo apt-get remove virtualbox*
2. In Ubuntu 32bit only, you’ll also have to install libstdc++5 :
sudo apt-get install libstdc++53. Download VirtualBox .deb packages from HERE - install the file appropriate for your Ubuntu version / architecture.
At this point, running a virtual machine won’t work - you need the VirtualBox extensions pack (see below).
4. Download the VirtualBox extensions pack. Then, once you’ve made sure you’ve closed all open VirtualBox windows, simply double click the "Oracle_VM_VirtualBox_Extension_Pack-4.0.0_BETA1-68572.vbox-extpack" file you’ve just downloaded - this should install the VirtualBox extensions pack and open VirtualBox.
(CC) www.webupd8.org 2009-2010. | Daily Ubuntu / Linux news and application reviews
![]()
Cet article est repris du site http://feedproxy.google.com/~r/webu...